How to Use Your Tab Divider Stickers
Our Plan & Prep tab divider stickers are one of the most-loved teacher planner features — simple to use, beautifully designed, and a total time-saver for busy teachers.
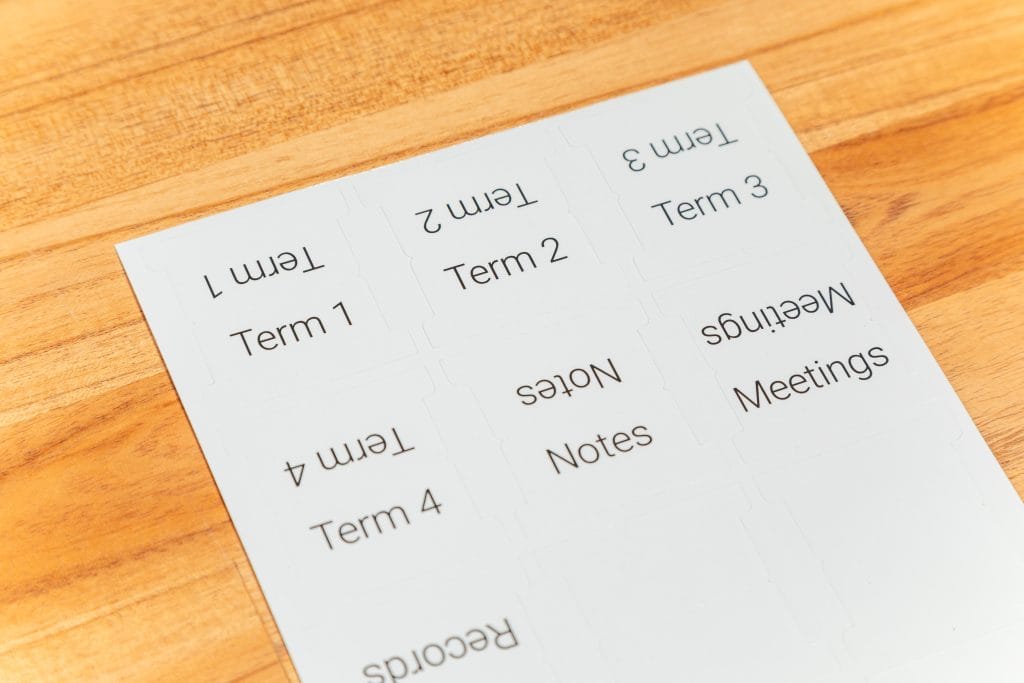
They’re pre-labelled for key sections like Term 1–4, Weekly Plans, and Assessments, plus five blank tabs so you can customise them for anything extra — like Meetings, Reports, or Excursions.
How to Apply Your Tabs
Step 1 — Find your page
Flip to the page you’d like to mark (for example, Term 1 ).
Step 2 — Peel and place
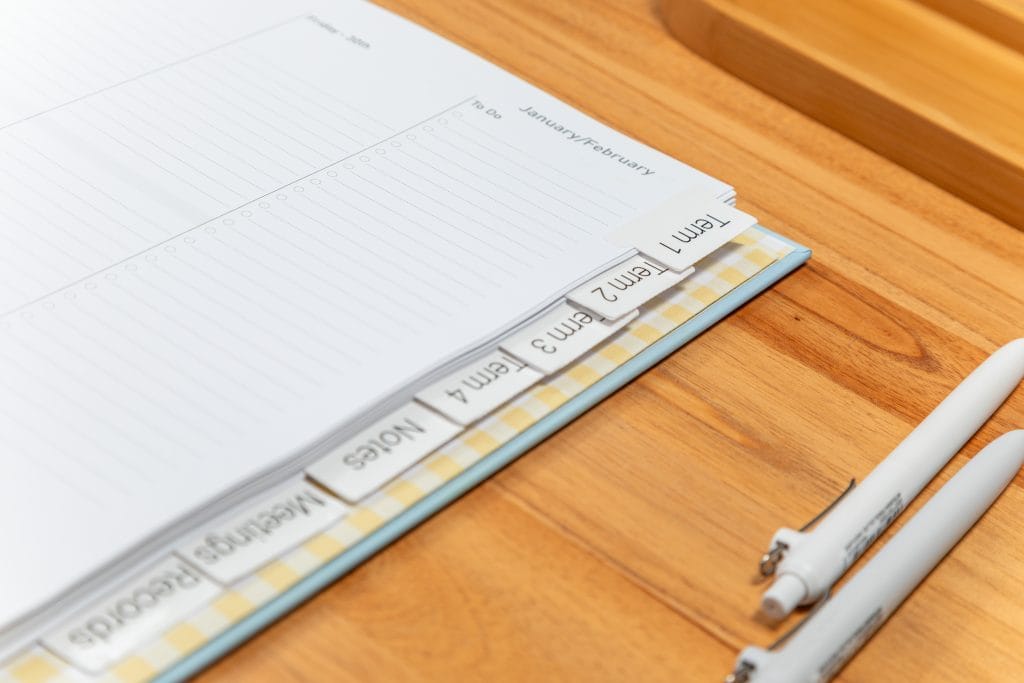
Peel off your chosen tab and line it up along the edge of the page so half the sticker sits on the front and half on the back.
Step 3 — Fold and press
Fold the tab back on itself, lining up the edges so the tab sticks out neatly. Press firmly to secure — this creates a sturdy, double-sided tab you can flip to instantly.
Step 4 — Add your extras
Use the blank tabs to create your own sections
Step 5 — Repeat and space
Add tabs throughout your planner, spacing them evenly so everything’s easy to find at a glance.
Why Teachers Love Them
Tab divider stickers make navigating your planner quick and effortless — especially when paired with our other teacher planner features like term overviews, pockets, and weekly spreads. They’re practical, polished, and one more reason Plan & Prep planners are the best planners for teachers who value both style and function.